
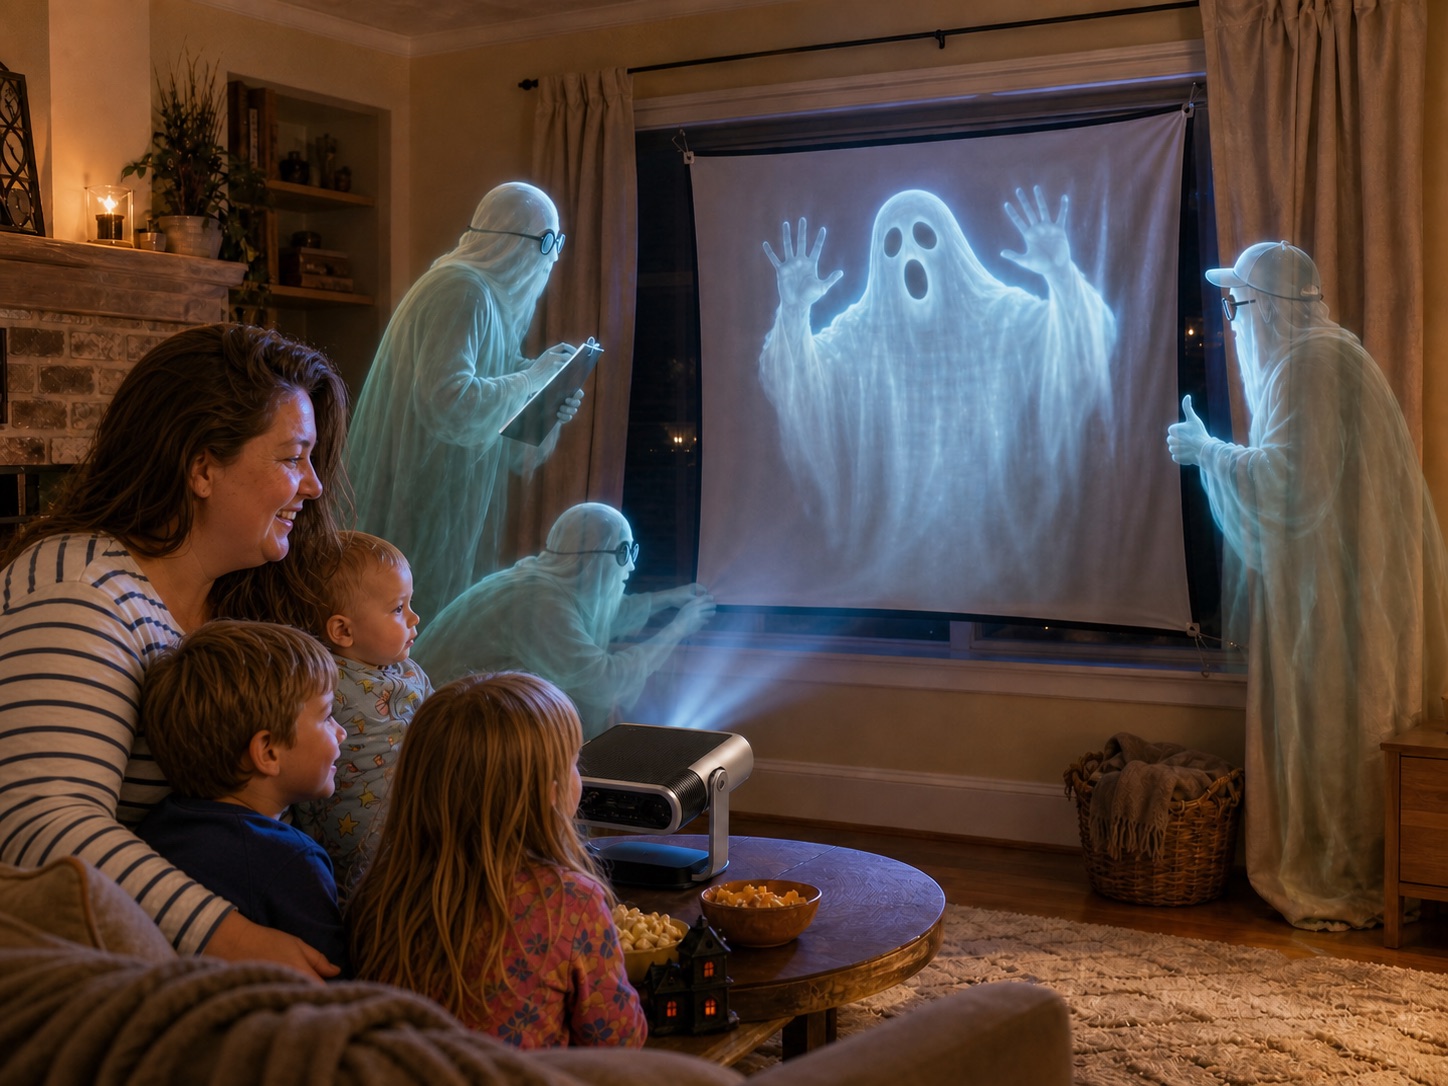
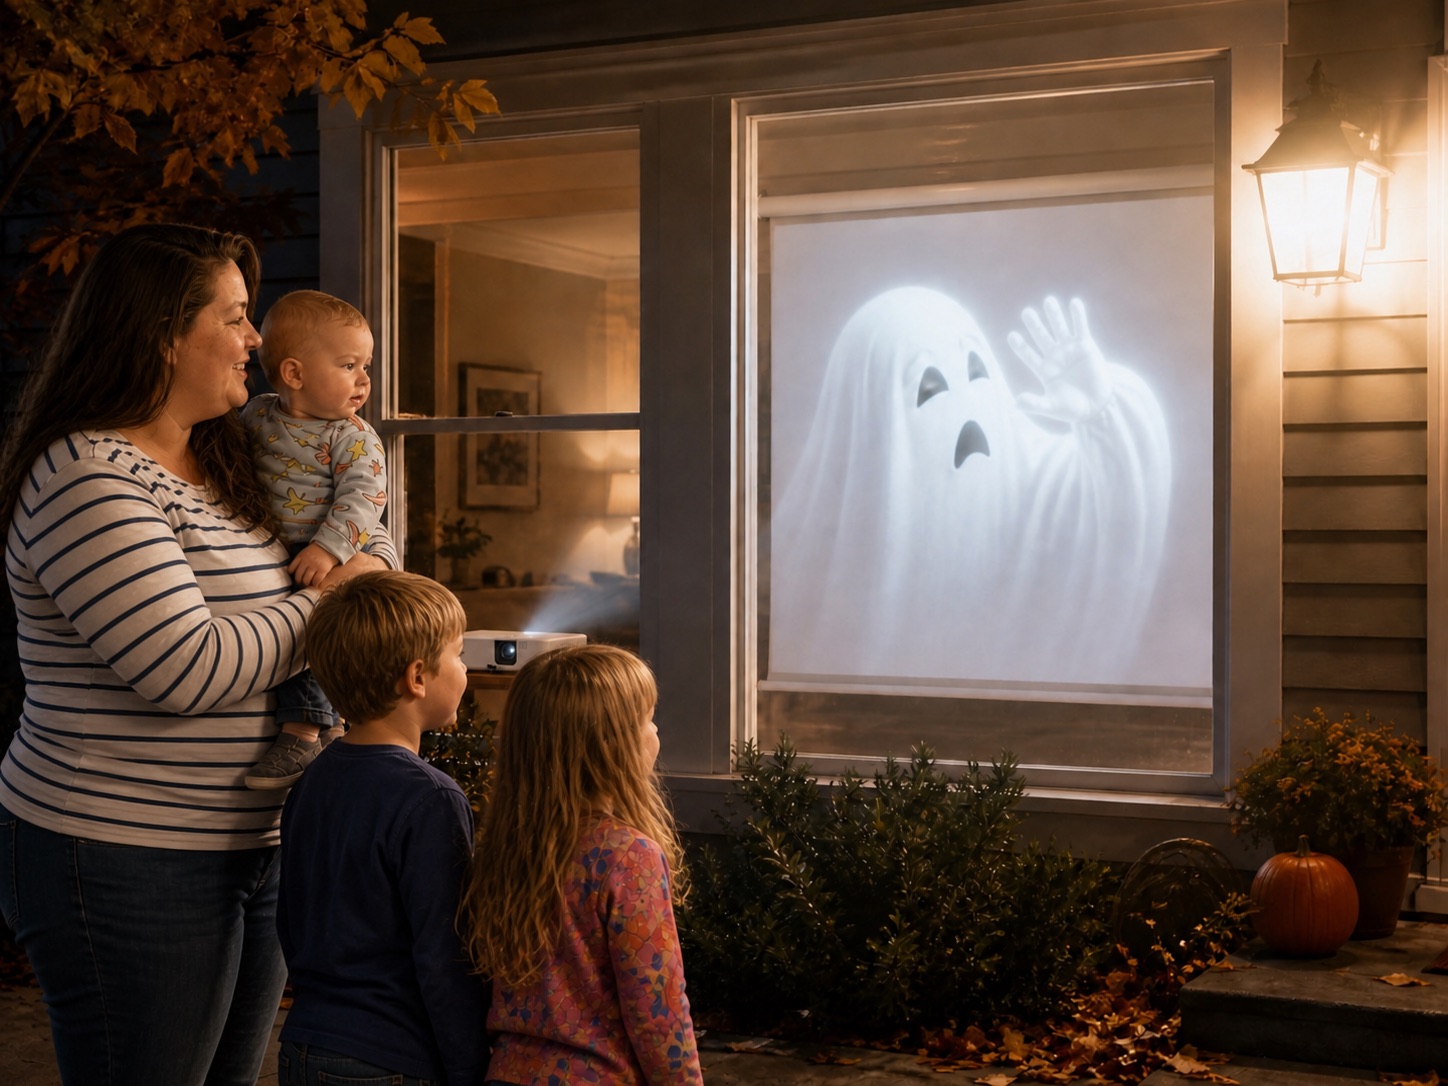
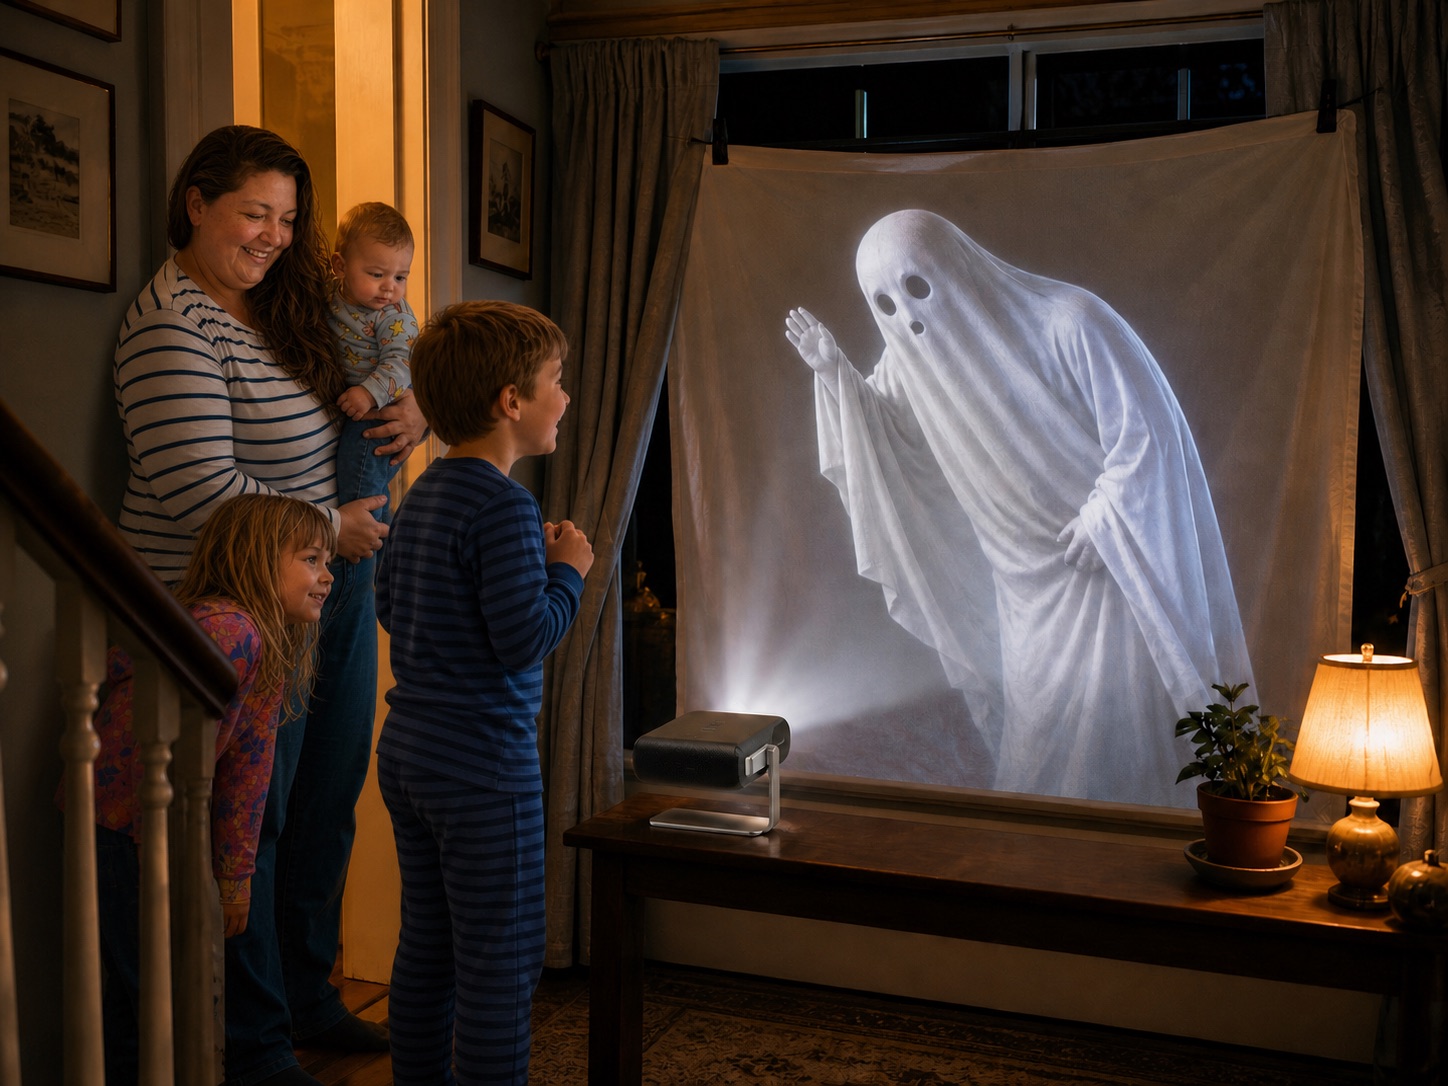
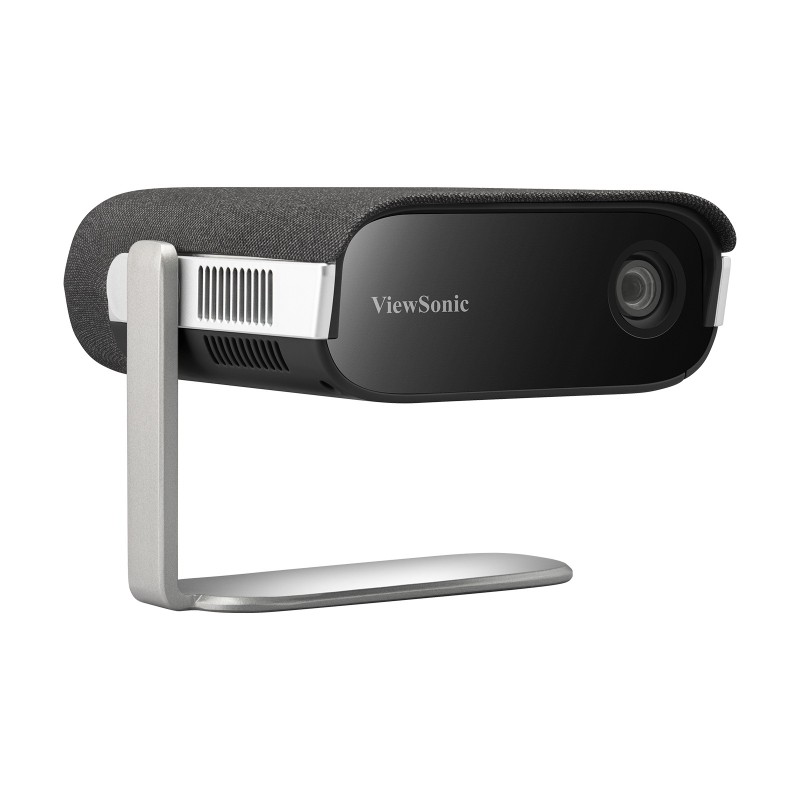
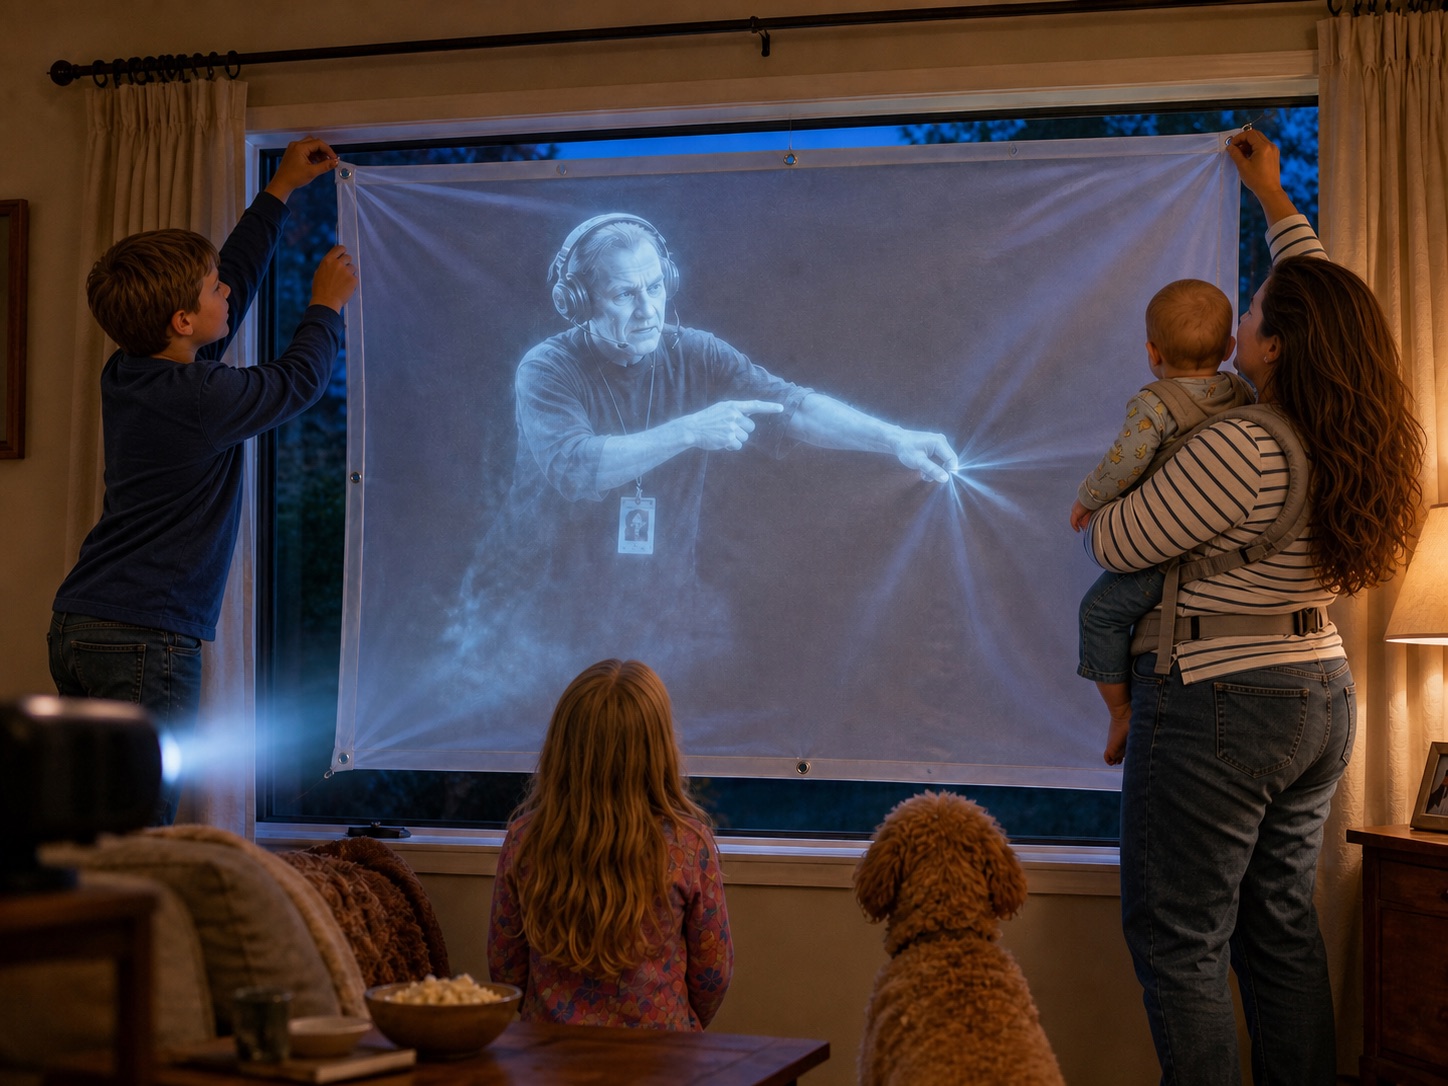
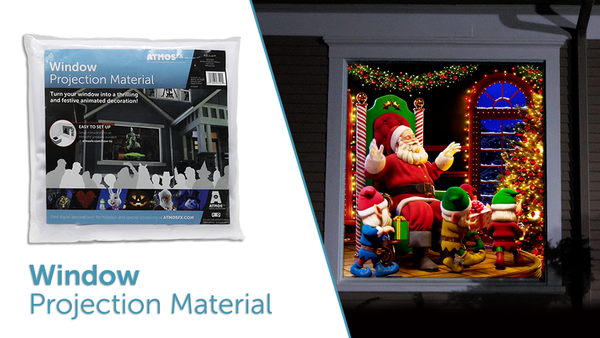
This guide is for projecting animated Halloween decorations onto a window from inside the house so they are visible from the street. It is not about watching movies or television outdoors.
Choose the setup that fits the visible glass, the clear floor space behind the window, and the amount of outdoor light hitting the house.
Measure these before opening another product tab
| Measure | Why it decides the buy |
|---|---|
| Visible glass | The projection material should cover the part people see, without folding over a frame or leaving a bright uncovered stripe. |
| Clear throw distance | Measure straight back from the window to the first usable shelf or table. A diagonal setup distorts the picture and wastes brightness. |
| Light after dusk | Stand outside with the porch and street lights on. If the glass is still bright, favor lumens and darker content over extra resolution. |
The setup order that prevents 9 p.m. troubleshooting
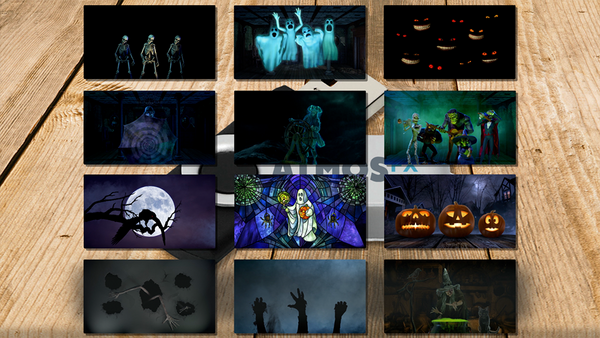
- Play one sample file before mounting anything. Confirm the projector reads the file and decide whether the horizontal or vertical version fits the window.
- Mount the material flat and pull the curtains completely clear. Ripples and curtain shadows read from the sidewalk.
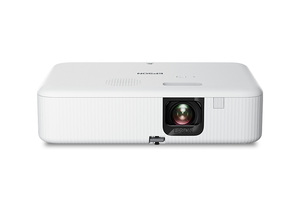
- Center the lens on the visible glass, then move the projector forward or backward to size the picture. Use digital correction last because it throws away usable pixels.
- Turn off room lights, walk outside, and judge it from the actual viewing spot. Save the working projector position with a small piece of painter’s tape.
The whole plan